

How To Clean A Glock 19 Gen 3
Don't Panic!
Cleaning your Glock is super easy and simple!
Everything from the tools you demand to how oftentimes you should be doing information technology, nosotros'll take you step-by-footstep through the whole process.
And also how to detail strip it for when information technology gets really dirty.
Nosotros have a great video below based off official Glock instructions, simply besides tons of pictures beneath if you want to go at your own pace:
If that helped, please subscribe to our YouTube aqueduct since we're adding new videos every calendar week!
How Often Should I Make clean?
A Glock is the AK-47 of pistols…information technology volition keep on chugging no matter what you throw at it. Merely for us, we all the same field strip and at to the lowest degree wipe downwardly afterward each range session. After about 1,000 rounds, we will do a detailed strip.
Of course, you should also clean your gun anytime you run into a major shift in accurateness or if something happens, like dropping it in the mud or spending a 24-hour interval in the rain or dust.
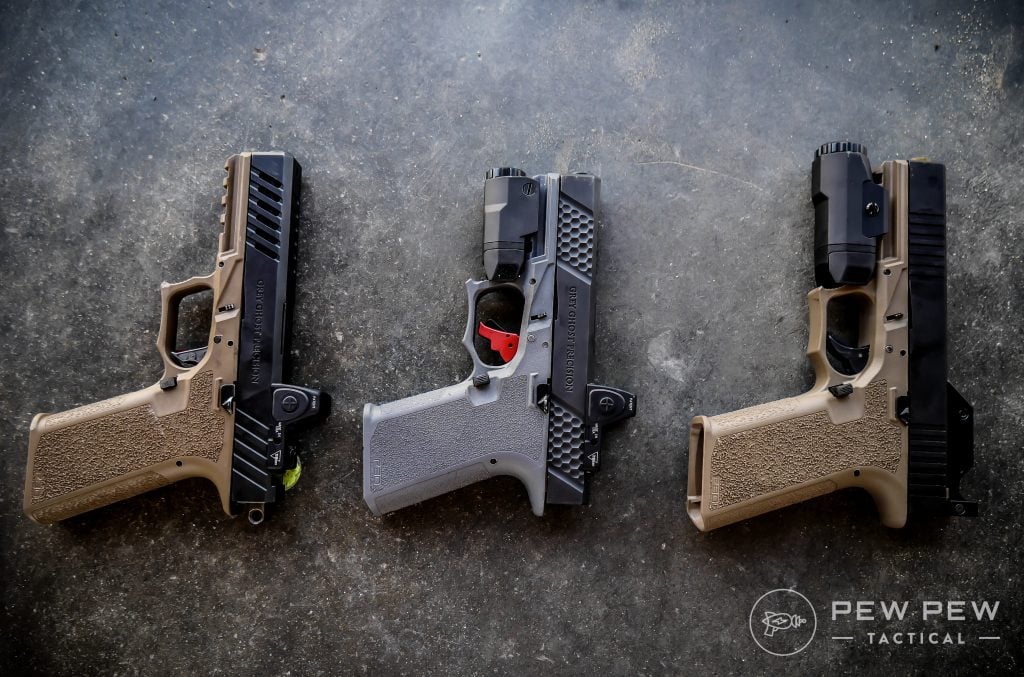
See our peak picks for theall-time Glocks!
Glock Field Stripping & Cleaning
Field stripping just means disassembling a gun into its major components for routine cleaning and maintenance. Information technology'due south super piece of cake on the Glock since it breaks downwardly into four main parts in a matter of seconds.
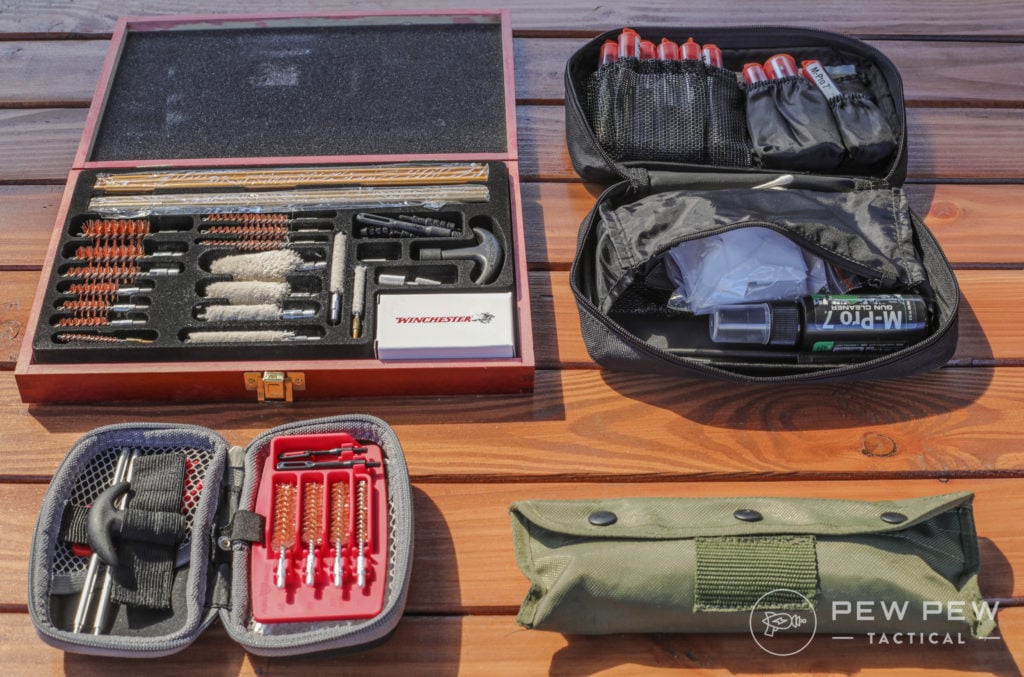
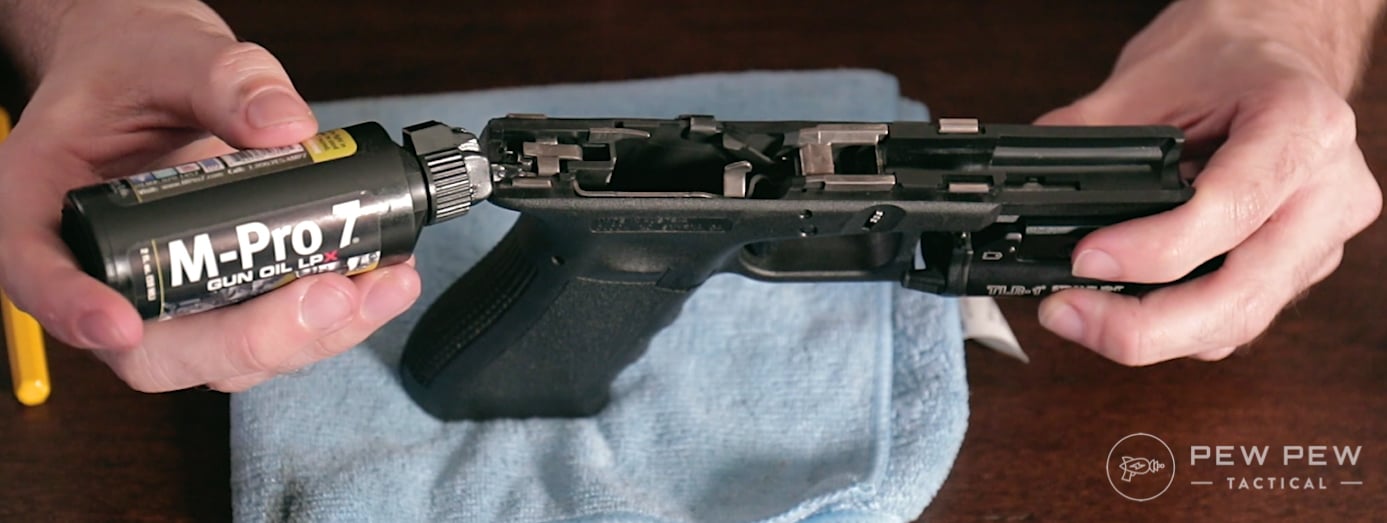
We recommend the following tools for cleaning our Glocks and other guns, conveniently all of these tools, cleaners, and lube is found in the Chiliad-Pro seven Cleaning Kit.
- M-Pro seven Gun Cleaner
- M-Pro 7 Oil
- M-Pro 7 Copper Remover
If yous want some more great gun cleaning options, take a wait at our 4 Best Gun Cleaning Kits!
Now that you accept your tools, discover a decent identify to work – a counter, table, or workbench all piece of work great.
Ensure whatsoever and all ammunition is removed from the expanse before you start cleaning your firearm!
I like to lay downward a towel or neoprene mat to soak up any spilled solvents and to take hold of the carbon, copper, and gunk that is cleaned from the weapon.
Field Strip
Earlier nosotros strip, make sure your Glock is clear of any ammo – remove the magazine, rack the slide several times, so visually and tactilely (use your finger) to make absolutely sure the bedchamber is clear and your Glock is unloaded.

Point your Glock in a safe management and pull the trigger to dry fire it, once you hear the click – you're ready to field strip.
Pull back slightly on the slide while at the aforementioned time pulling downwards on the tabs that are on either side of the frame right above and forrad of the trigger
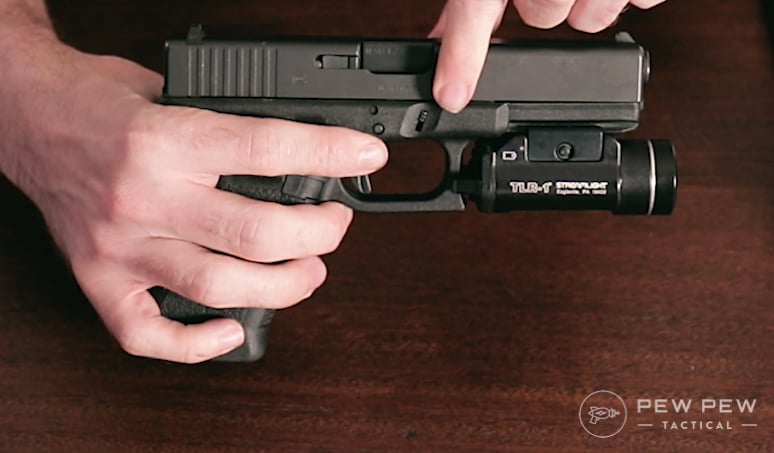
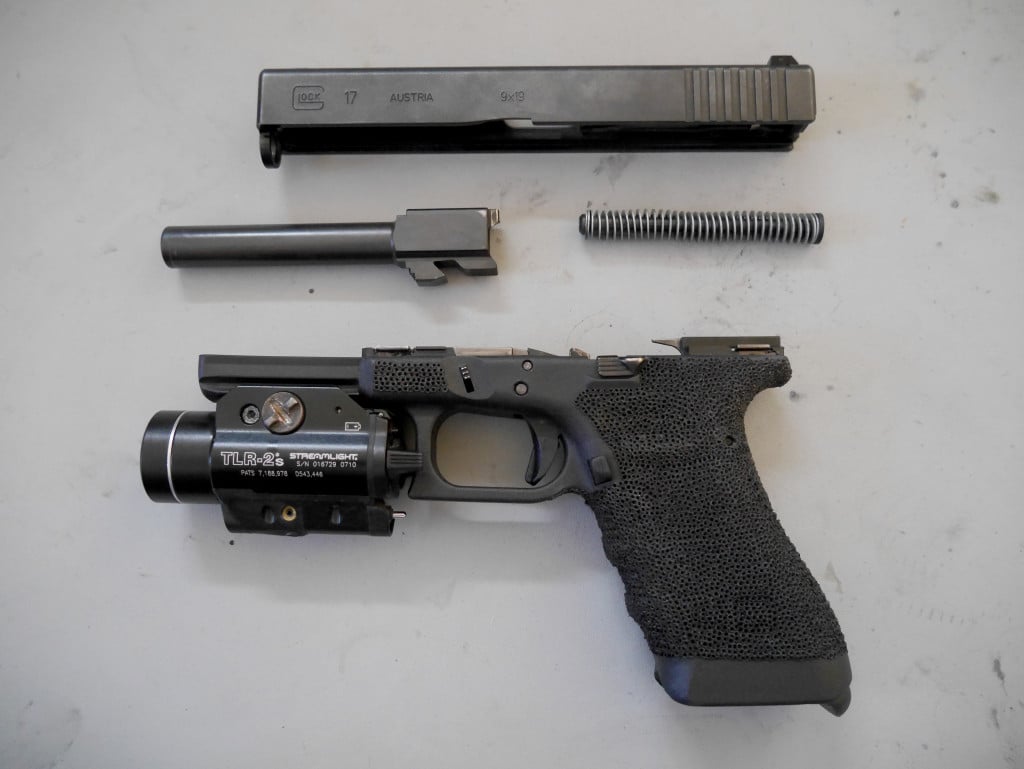
One time you pull downwardly on the tabs, allow the slide to movement frontwards and sideslip off of the frame. From here information technology is very simple to break downwards your Glock into information technology's 4 main parts: Barrel, Frame, Slide, and Recoil Spring & Guide Rod.
Cleaning the Butt
The barrel of your Glock is where the VAST bulk of the dirt, carbon, and grim will hide – and then that is what you want to clean offset.
Kickoff with using a dry castor to button virtually of the crud out of your barrel. Make sure to always push button the brush forward from the chamber to the muzzle.
Run your brush back and forth at least 5 to 8 times or until yous terminate getting chunks of stuff.
Adjacent, have a gun cleaning patch and spray (or dribble, depending on what you're using) some of your gun cleaner onto the patch – in our instance, using theThousand-Pro seven Gun Cleaner.
Repeat by running the patch through your barrel from bedroom to muzzle vii to 10 times.
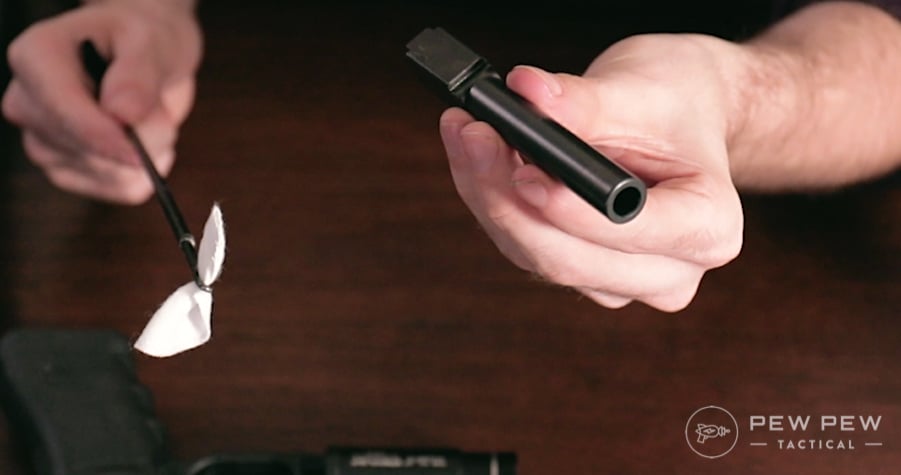
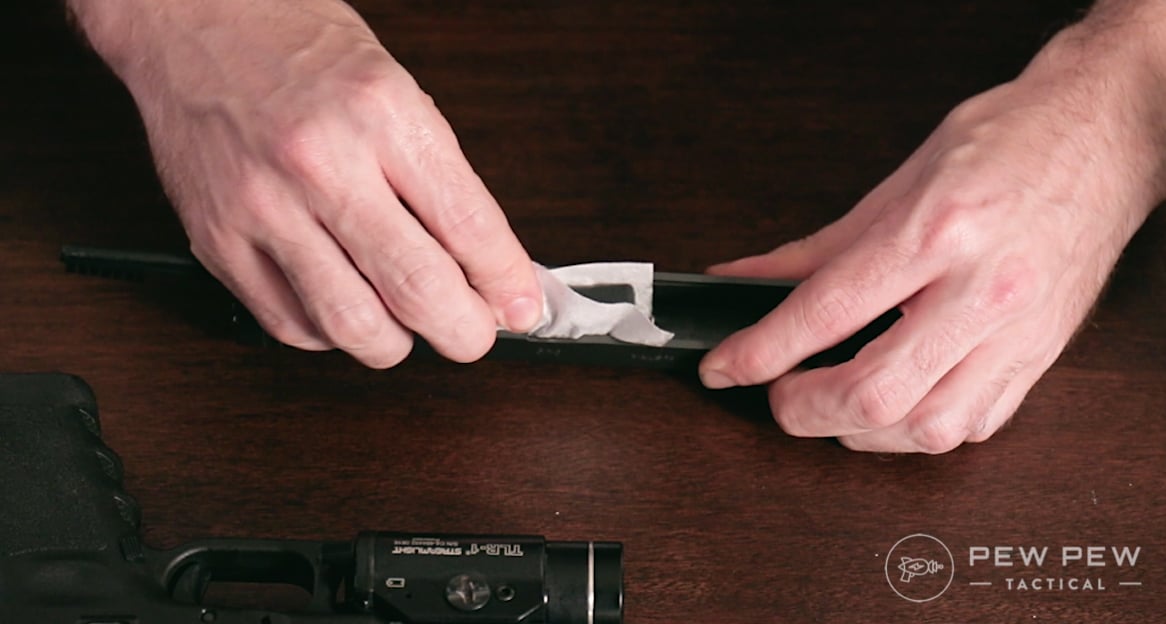
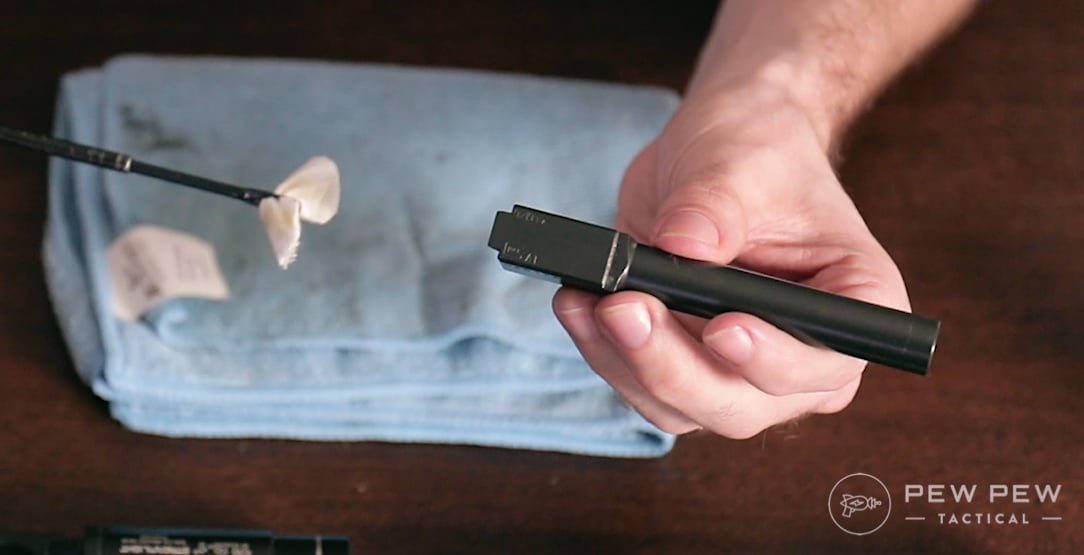
Take a clean patch and spray some cleaner on it, use that patch to just wipe downward the outside of the barrel and to clean the feed ramps of the sleeping room – the feed ramps are the important function!
Once the barrel is all shiny, inside and out, have a microfiber towel and wipe down the exterior of the barrel to remove any excess cleaner, follow that past running some dry out cleaning patches through the barrel until they get-go coming out clean the other finish – this might take a couple of dry out patches to accomplish.
Look down the barrel and visually check to make certain all the fouling has been removed, if yous encounter a couple of stubborn nighttime spots – don't sweat it and don't go crazy trying to remove them. But for the nigh part, the barrel should exist shiny and uniform.
Once clean, put your barrel aside and clean the slide!
Cleaning the Slide, Recoil Spring, and Guide Rod
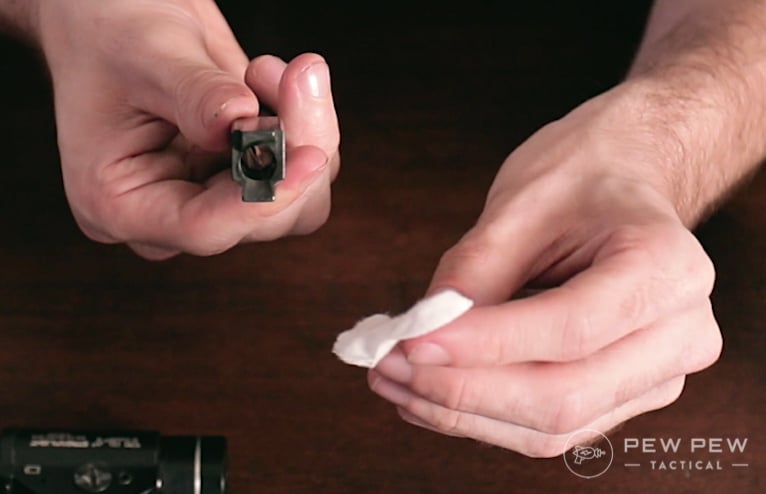
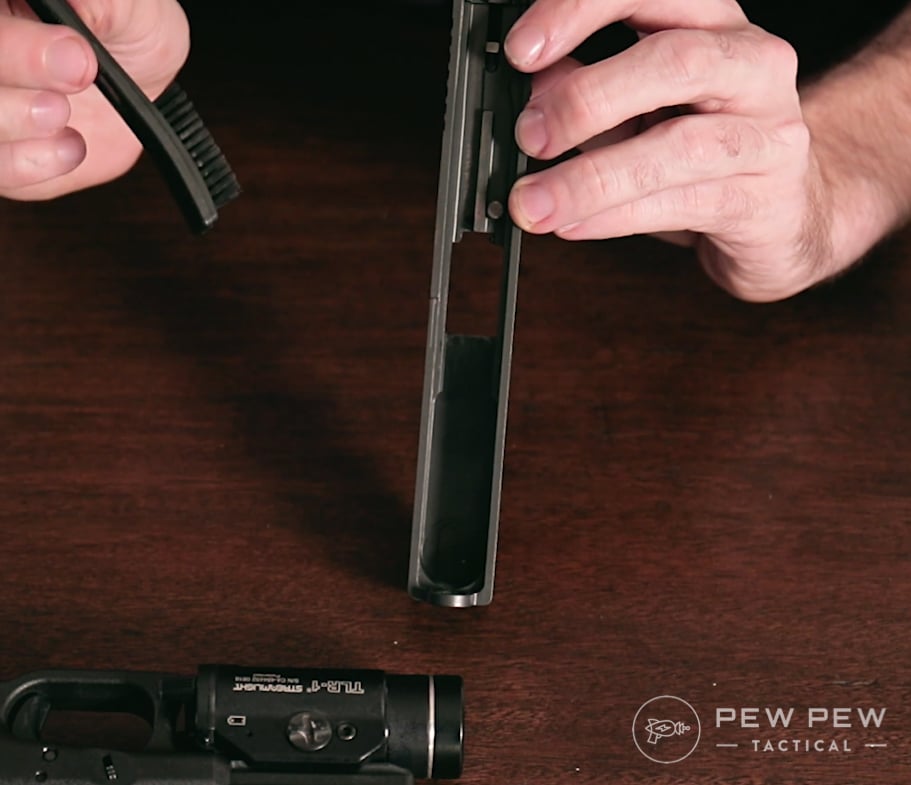
Take a brush and wrap the bristles with a gun cleaning patch, using that scrub/wipe down the inside of the slide focusing on the rear – this is where the important parts of the slide are and are where fouling will likely build up.

You'll desire to make sure y'all get the inside of the rails as well, this might crave using a Q-Tip to really make it there. While not always required, taking the fourth dimension to practise the details at present volition ensure your Glock never malfunctions due to poor maintenance.
Take the slide and betoken the cage end downward toward the floor, using the castor clean the breech face – exist certain to non tilt the slide effectually too much while doing this, the goal is to keep the fouling abroad from the rear of the slide and to knock it away from the breech confront.
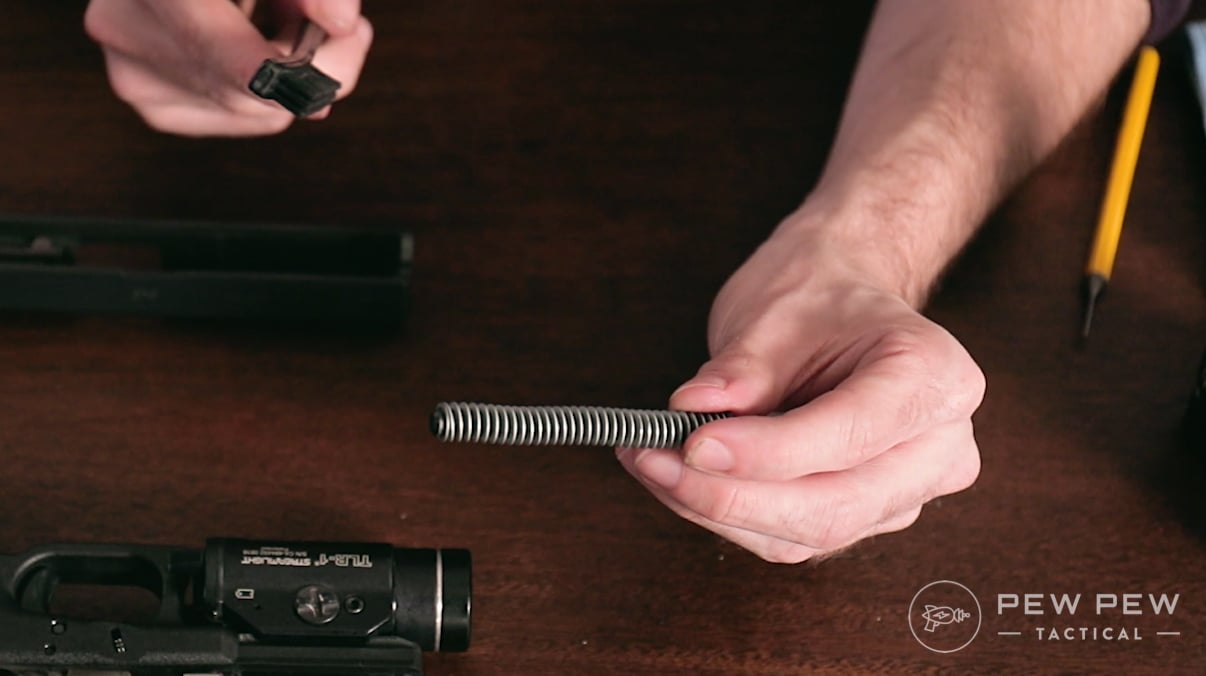
Brushing downward the recoil spring and guide rod is easy, just have the brush and…brush it. One time washed, wipe it down using a towel or rag.
Cleaning the Frame and Magazine
The hard parts are over now! Cleaning the frame might await like a lot of nooks and crannies, but really information technology just needs a good scrub and wipe down. Take a brush and scrub the top of the frame, focus on the slide track in the front and the trigger bar in the dorsum.
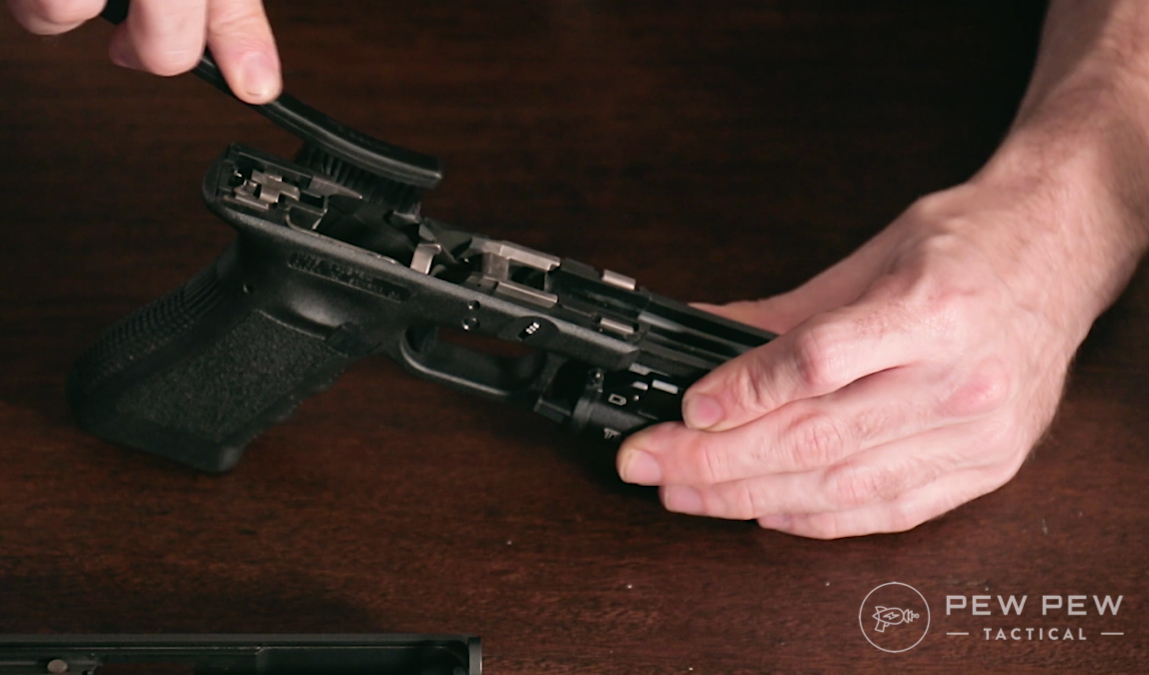
If fouling is actually congenital upwardly on your slide rails, you may demand to have a patch and cleaner to information technology. Don't be scared to requite information technology a actually skilful scrub down. Don't forget to use a towel or rag to wipe off the cleaner afterwards!
Magazines are oft forgotten when it comes to cleaning and truth be told, they very rarely need it. And nearly of the time that they do need information technology, it's because they were dropped in mud or dirt and a hose tin commonly have intendance of that blazon of cleaning.
Just at least in one case in a while, information technology's a good idea to disassemble your mags and requite them the cleaning they deserve.
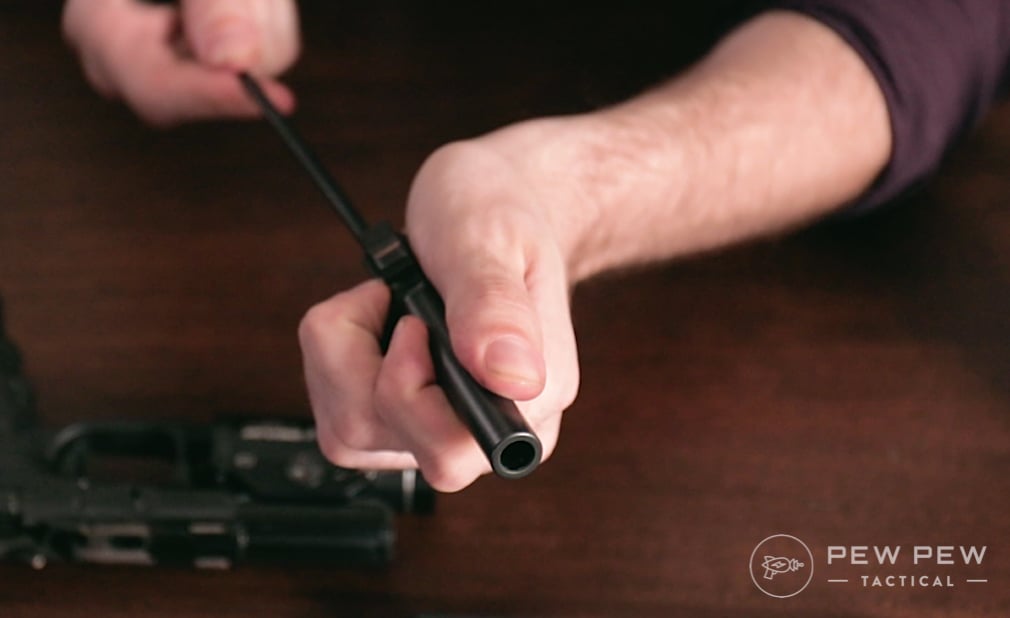
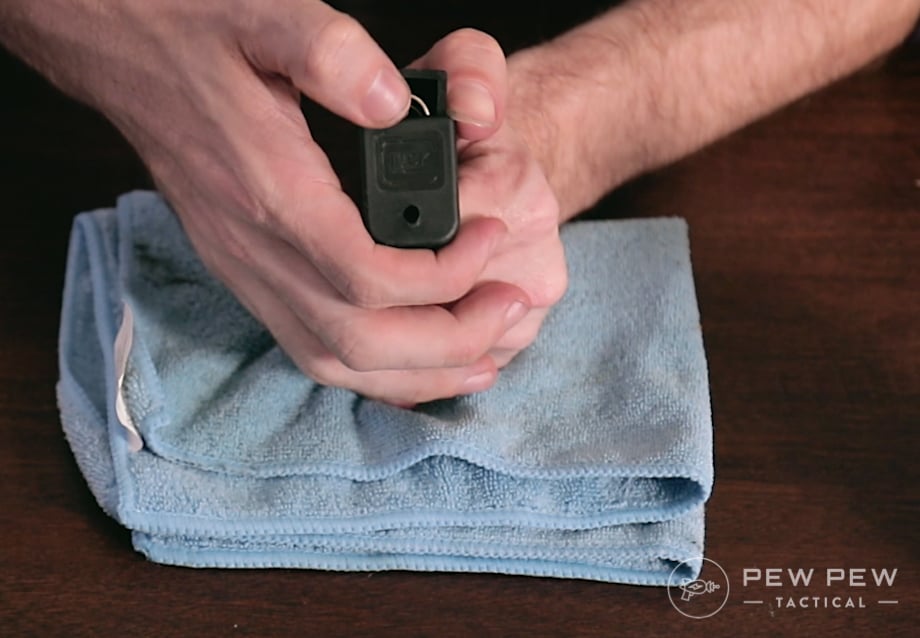
Remove the base plate of your magazine using theGlock Disassembly Toolor a punch.
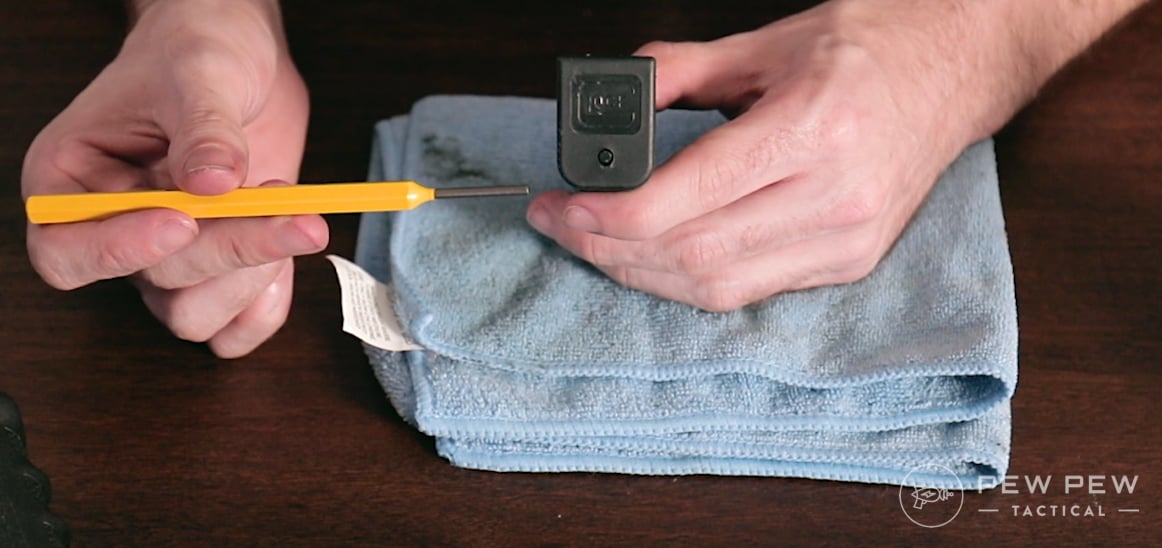
Be careful and make certain that while removing the plate you keep your thumb over the exposed leap to preclude it from flight beyond the room once the plate is removed.
Once disassembled – simply accept your brush and scrub down the inside and outside of the magazine, brush and wipe down the spring, and scrub the follower. If you're feeling really detailed – go ahead and wipe down the baseplate and insert.
To reassemble you'll want to first make sure that y'all replace the follower on the right end of the spring (the small terminate!).
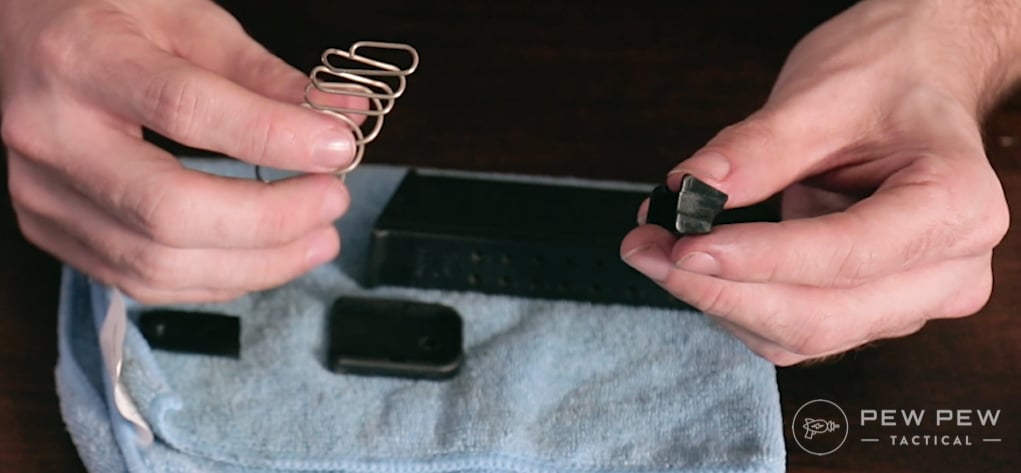
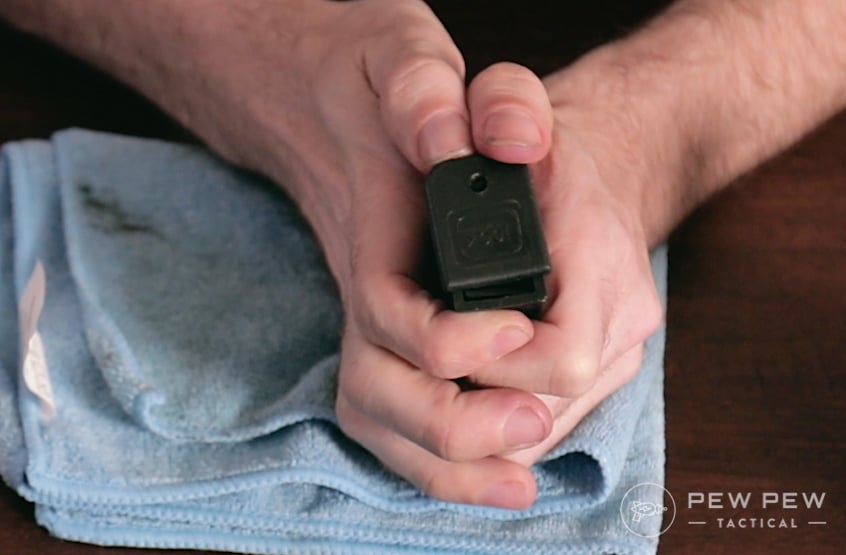
Then merely button the leap dorsum in, insert the retaining insert, and close it up past sliding the baseplate back into identify.
Lubricating your Glock
Repeat after me: Less is more.
Some people like to gun their firearms "moisture" and while some guns truly demand that, a Glock is not one of them. In fact, excess lubricate tin hinder reliability every bit it holds on to more filth and crud.
So, less is more than. A light coating of lube is all you need on whatsoever of the parts.
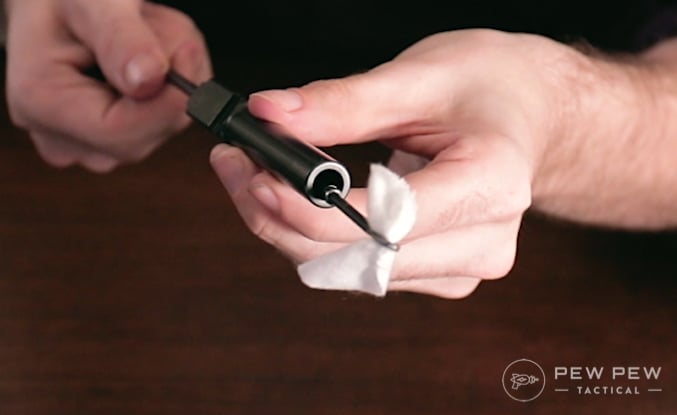
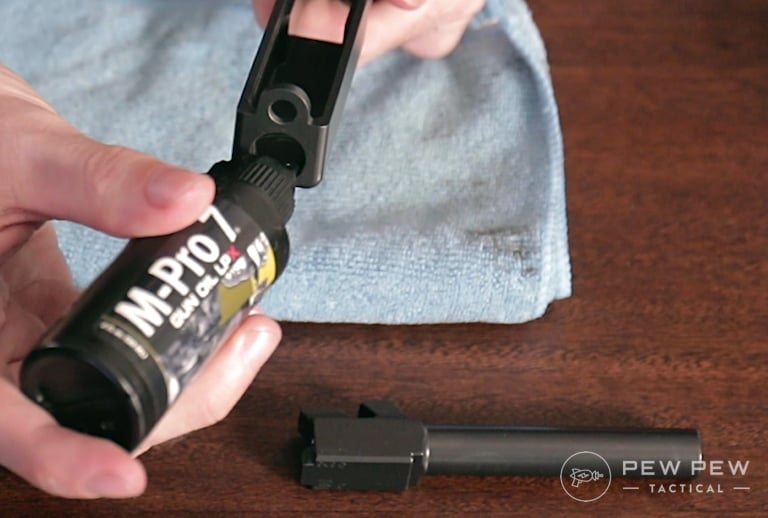
Start with the barrel – apply some lubricant to a cleaning patch and run it through your barrel using the same chamber to cage method 4 or 5 times – you might selection up some last bits of fouling doing this, feel free to ignore it.
Follow that with a dry patch to remove the extra lube.
Next comes the outside of the barrel, just apply some lube to the butt itself and apply a patch to wipe information technology across the entire outside surface.
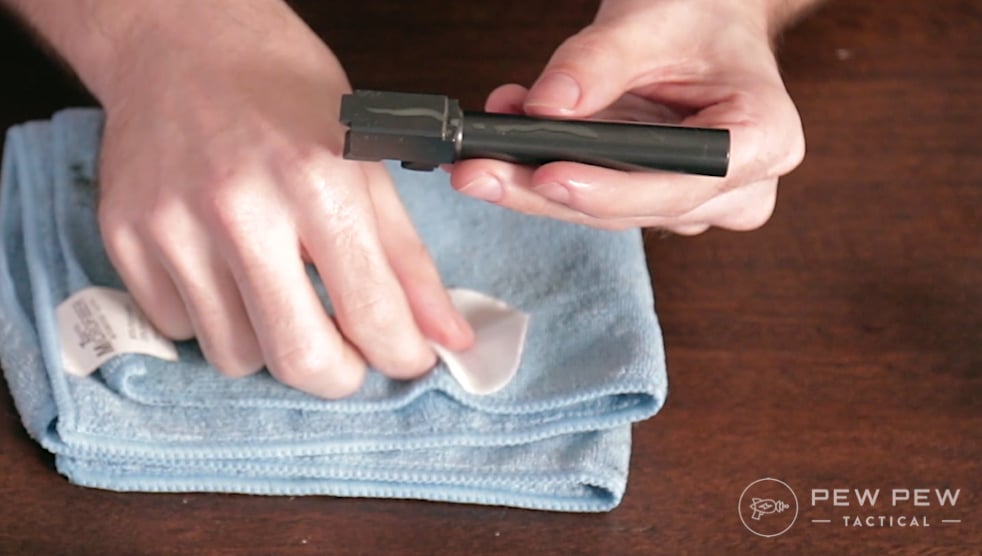
And yous guessed it, employ your towel to wipe down the barrel to remove excess lube!
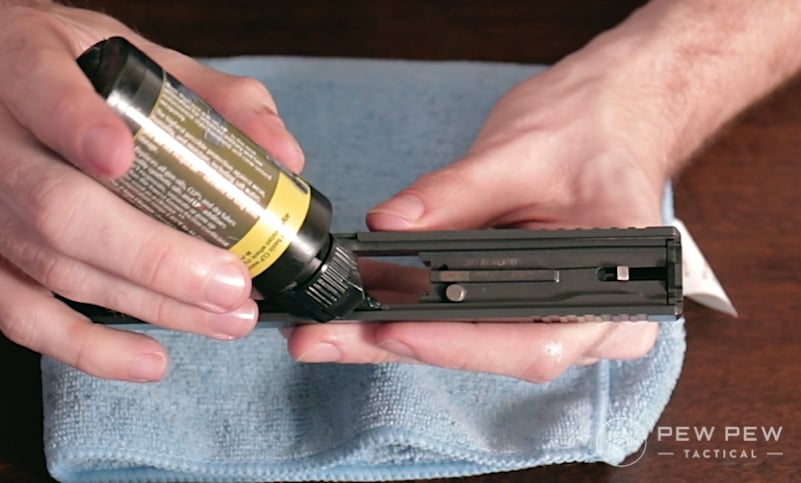
Now y'all'll want to practise some targeted lubing where it is needed the near, the infinite between lugs on the bottom of the barrel…
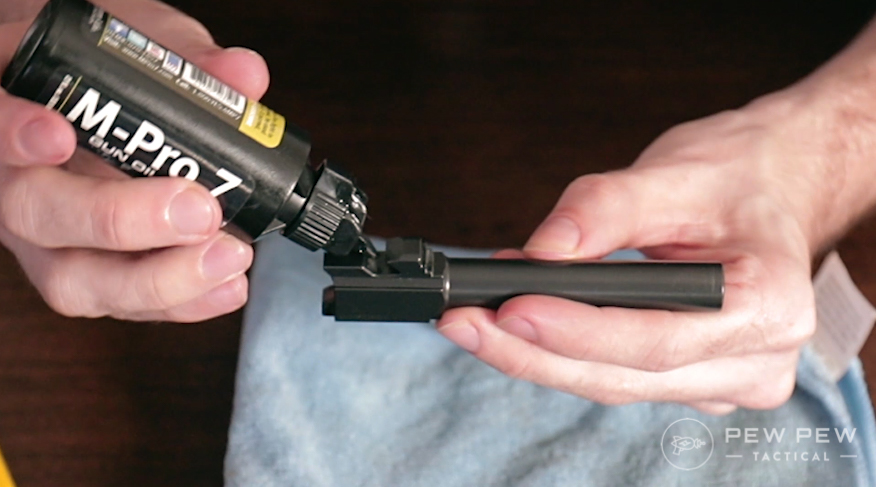
And on the pinnacle of the barrel where the butt interfaces with the slide…
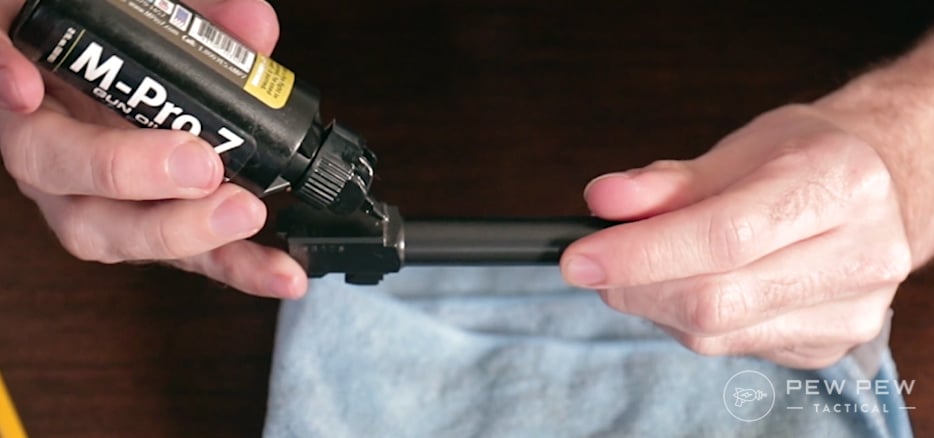
So, once again, wipe upward the excess with your towel.
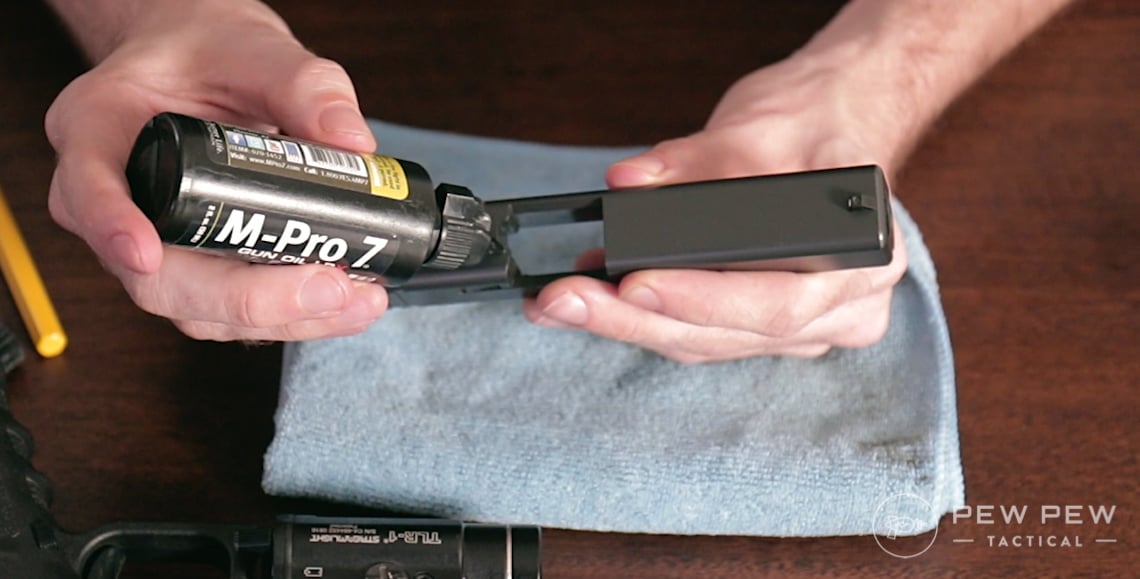
Now the slide!
A dab of lube on the acme rear of the slide where it interfaces with the butt…
And on the front of the slide where the barrel will poke through – you'll likely run across some wear marks, that tells you where you demand to lube.
Wipe up the excess lube before moving on to the inside of the slide.
Merely a touch of lube on the slide rails, 1 driblet per side. You'll want to use your finger or a patch to wipe it downwards and spread the lube around evenly.
Annnd over again, remove backlog with towel.
Now for the frame!
You may take heard this before – lube the slide track!
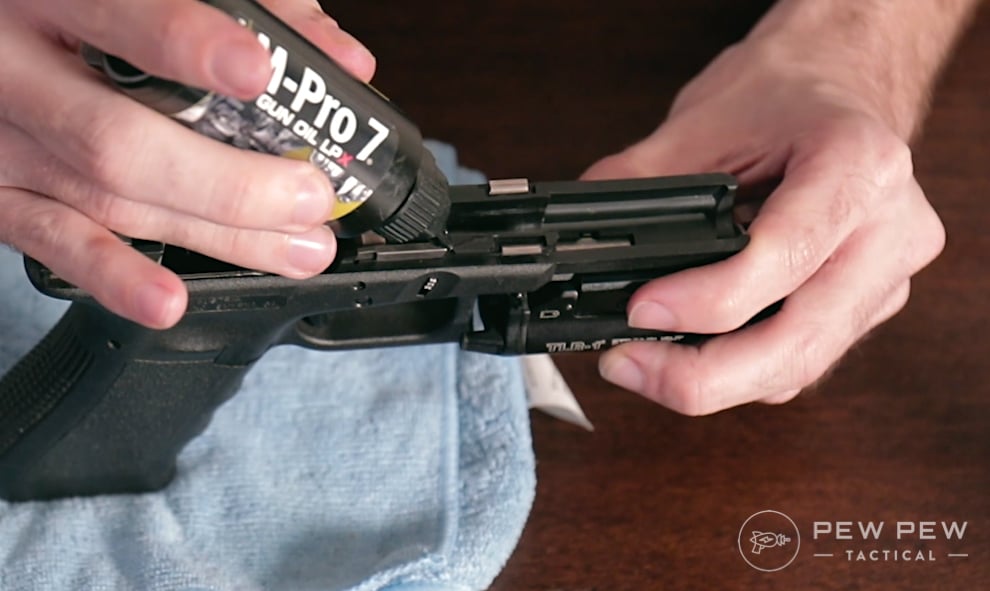
Also, add a bit of lube to the raised metal part in the rear of the frame that interfaces with the trigger bar.
Wipe off excess one last time and yous're done! To assemble, insert your barrel, guide rod & recoil spring dorsum into the slide and slide the slide back onto the frame.
FINALLY,point your gun in a safe management and dry out burn down your weapon, rack the slide and dry out fireagain. Confirm that your weapon is functioning, your trigger is resetting as expected, and that zilch is gritty or out of place.
That's it! Y'all're washed. Congratulations on a clean and well-maintained firearm.
Glock Detailed Strip
A simple Glock Disassembly Tool makes everything easier for the detailed strip.
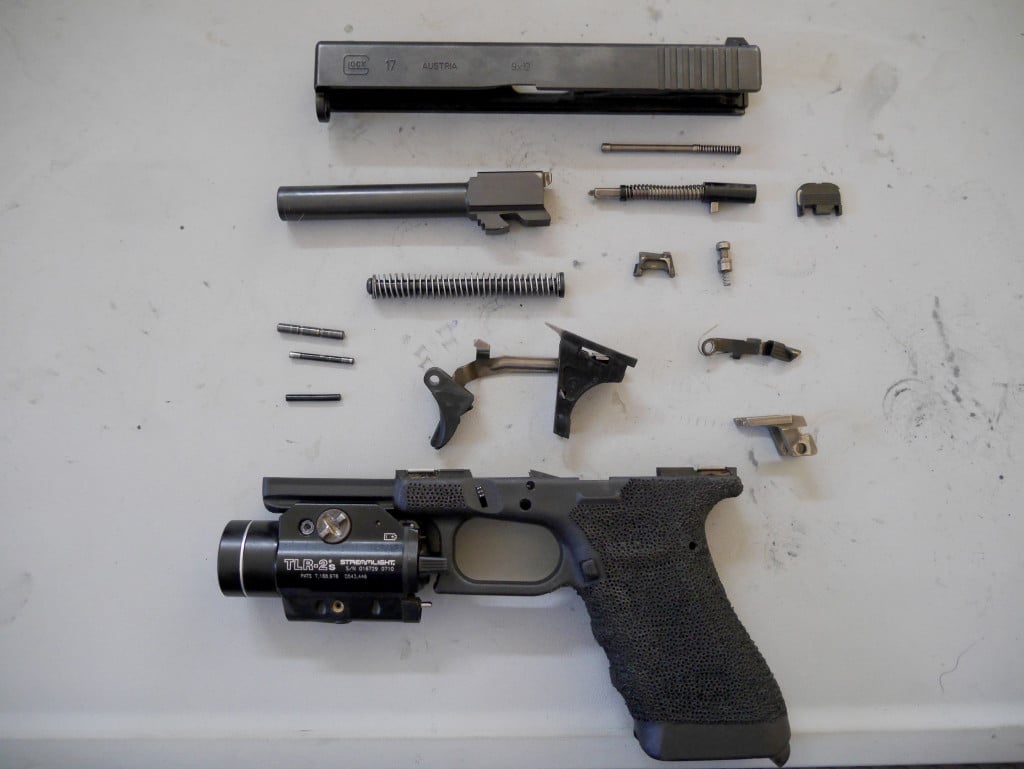
This keen video beneath goes into how to fully strip down the Glock. Pay special attention to the removal and assembly of the pins, since there is a right gild. We clean everything with our Chiliad-Pro seven and oil the moving parts.
Parting Shots
Cleaning your firearms is an important part of shooting, information technology keeps them running, it preserves them, and it's relaxing to do. While the Glock is legendary for reliability and ease of maintenance, it's nonetheless a good idea to clean it regularly.
Now that you're more familiar with the inside of your Glock, maybe information technology's time to make some upgrades to information technology! Take a await at ourAll-time Glock Upgrades & Add-onsguide.
How frequently do you clean your Glock? Allow united states of america know in the comments!

Source: https://www.pewpewtactical.com/glock-clean-lubricate/
Posted by: ashbeills81.blogspot.com
0 Response to "How To Clean A Glock 19 Gen 3"
Post a Comment